-
Start ArcGIS by clicking on Start
→
All Programs
→
ArcGIS
-
Click on ArcMap 10 to the the
program. It will take a few seconds for the
ArcMap to start. You should see the logo
while the program in loading.

-
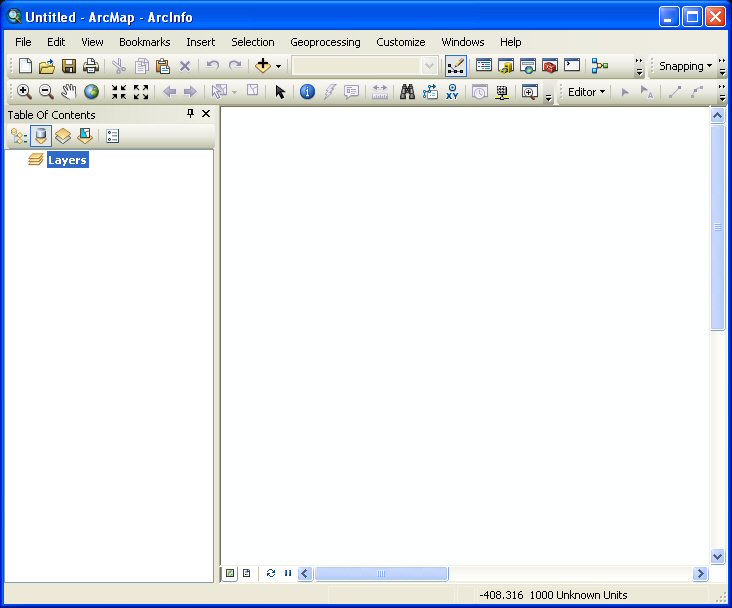
The main interface for
ArcMap should appear as shown below:
-
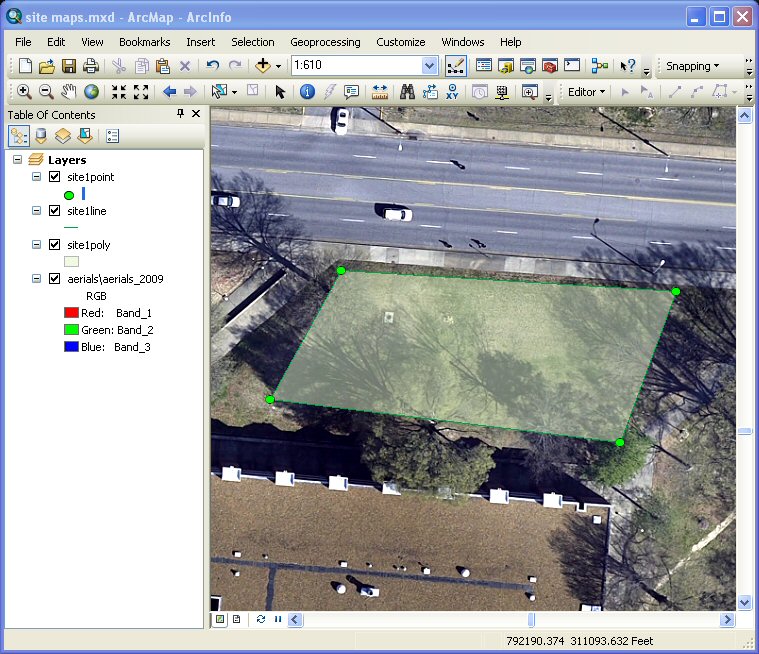
To open an existing
ArcMap project, click on File
→ Open and select the ArcMap
document from the listing in the window. IN
this example the ArcMap document is site
maps.mxd.

-
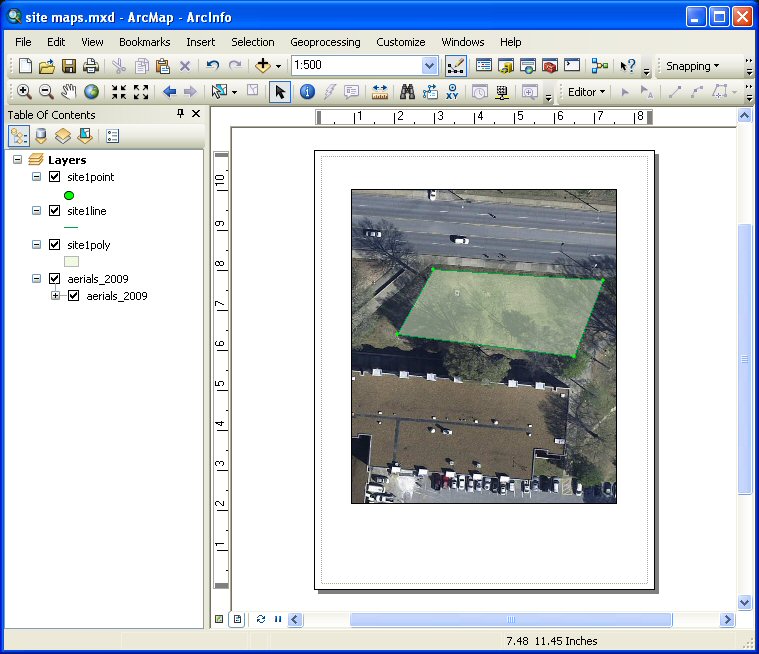
The site maps project
is opened and displayed in the main ArcMap
window:
-
Switch to the layout
view by clicking on View
→
Layout View or clicking on the Layout View
button on the
bottom-left-hand edge of the main view.
-
First, lets insert a
north arrow. Click on Insert
→
North Arrow... and
the following menu will appear.
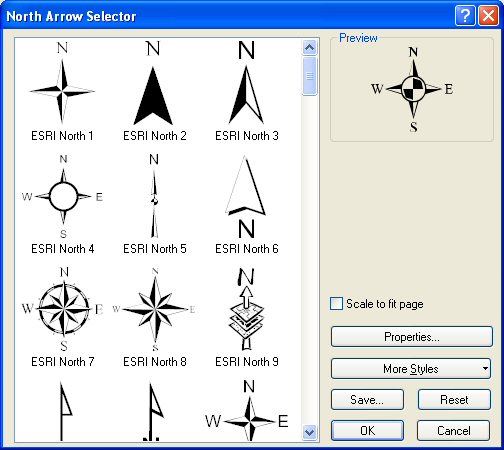
Choose a North Arrow style and any
associated properties and click OK.

-
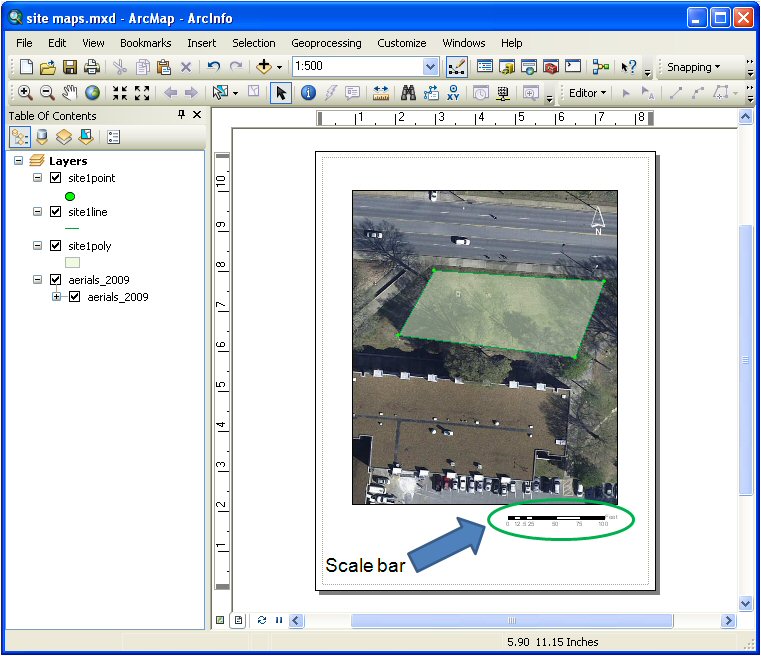
Next, lets insert a
scale. Click on Insert
→
Scale Bar... and
the following menu will appear.
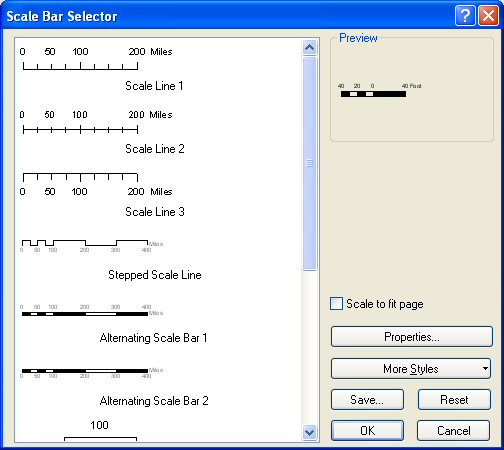
Choose a Scale Bar style and any
associated properties and click OK.
Then drag the scale bar to the appropriate
location on the map.
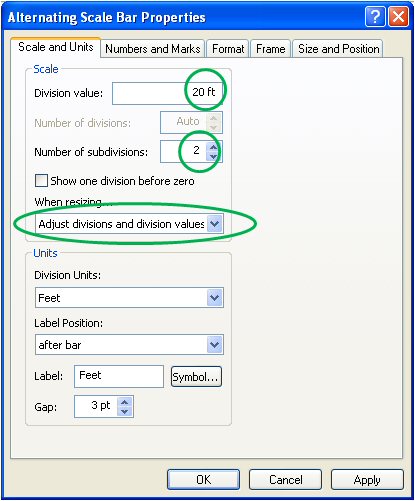
You can adjust the scale units of the scale
bar by double clicking on the scale bar. The
following menu will appear.
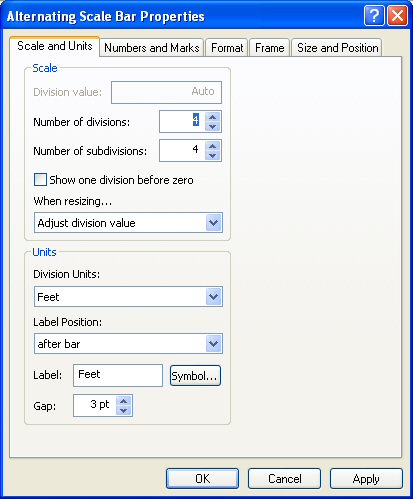
If for example, if you want to control the
number and division and the division value,
click on the pull-down menu When
Resizing... and choose Adjust
division and division values and then
enter values for the Division Value (
20 ft in this example) and the Number of
Subdivision (2 in this example).
-
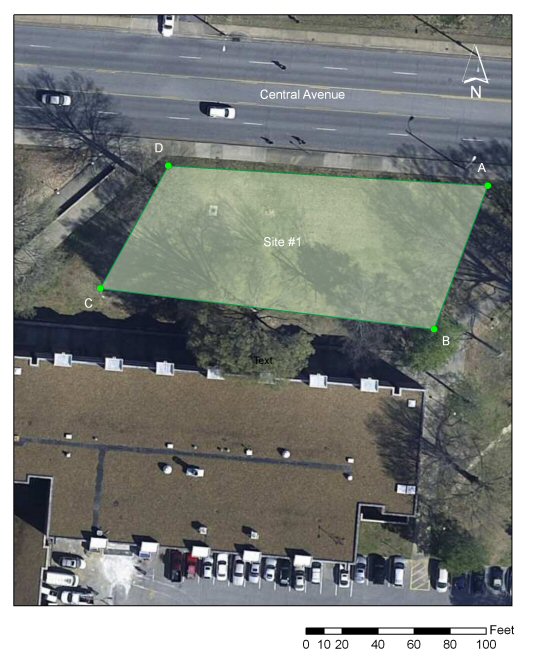
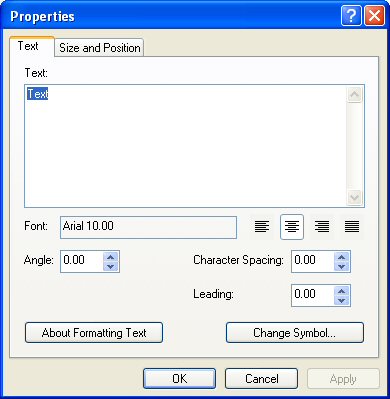
Next, you can insert
any number of text labels onto the map.
Click on Insert
→
Text and
a blank text box will appear on the map.
Enter the text label and drag it to the
appropriate location on the map. To change
the properties of the text box, double click
on the text box and the following menu will
appear.
-
When the map is
completely annotated, you can print the map
or export it as a image file. To export the
map, click on File
→
Export Map... and the
following menu will appear.
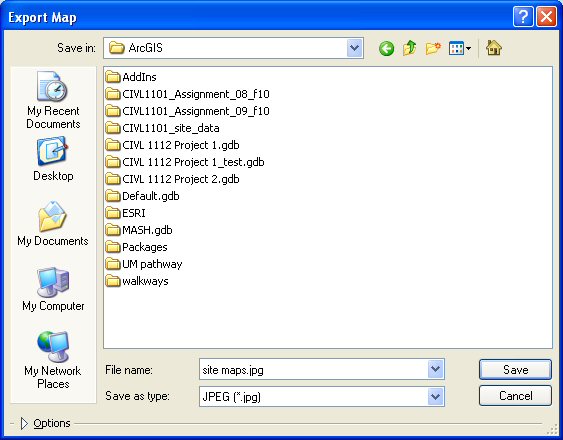
Choose a filename and format and save the
image. Below is picture of the
exported map file in JPEG format.